There are no shortage of bikepacking bag manufacturers on the market these days as the bike industry embraces gravel adventure. From boutique handmade gear to mass production bags there is a bikepacking bag for everyone. If you are the type of person who wants reliable gear with looks and features unique to your personality and your bike I introduce you to JPAKS LLC; a rad little company based out of Colorado.
If you’re just trying out bikepacking chances are you can get by on what you have in your tickle trunk of outdoor gear (if you even have a tickle trunk). If you’re not wanting to commit too much of your hard earned cash on the sport you can purchase off the shelf bikepacking bags for relatively low cost. If you end up not liking bikepacking so much (which would be weird in my opinion) it is super easy to re-sell the bikepacking bags or just keep them around for the occasional adventure.
On the other hand if you end up loving it you’ll likely want to invest in some better quality bikepacking bags and maybe even a custom framebag that fits your bike like a glove. If you have multiple bikes that could get pricey but it is well worth it. If you’re anything like the Roads Are For Wimps crew you’ll want to add you’re own flare with custom colours to give your ride a unique look. That is where our friend Joe from JPAKS LLC enters the picture. Below are the bikepacking bags from JPAKS LLC we’ve tested over the past three years and thought it was time to leave our impressions.
FramePak
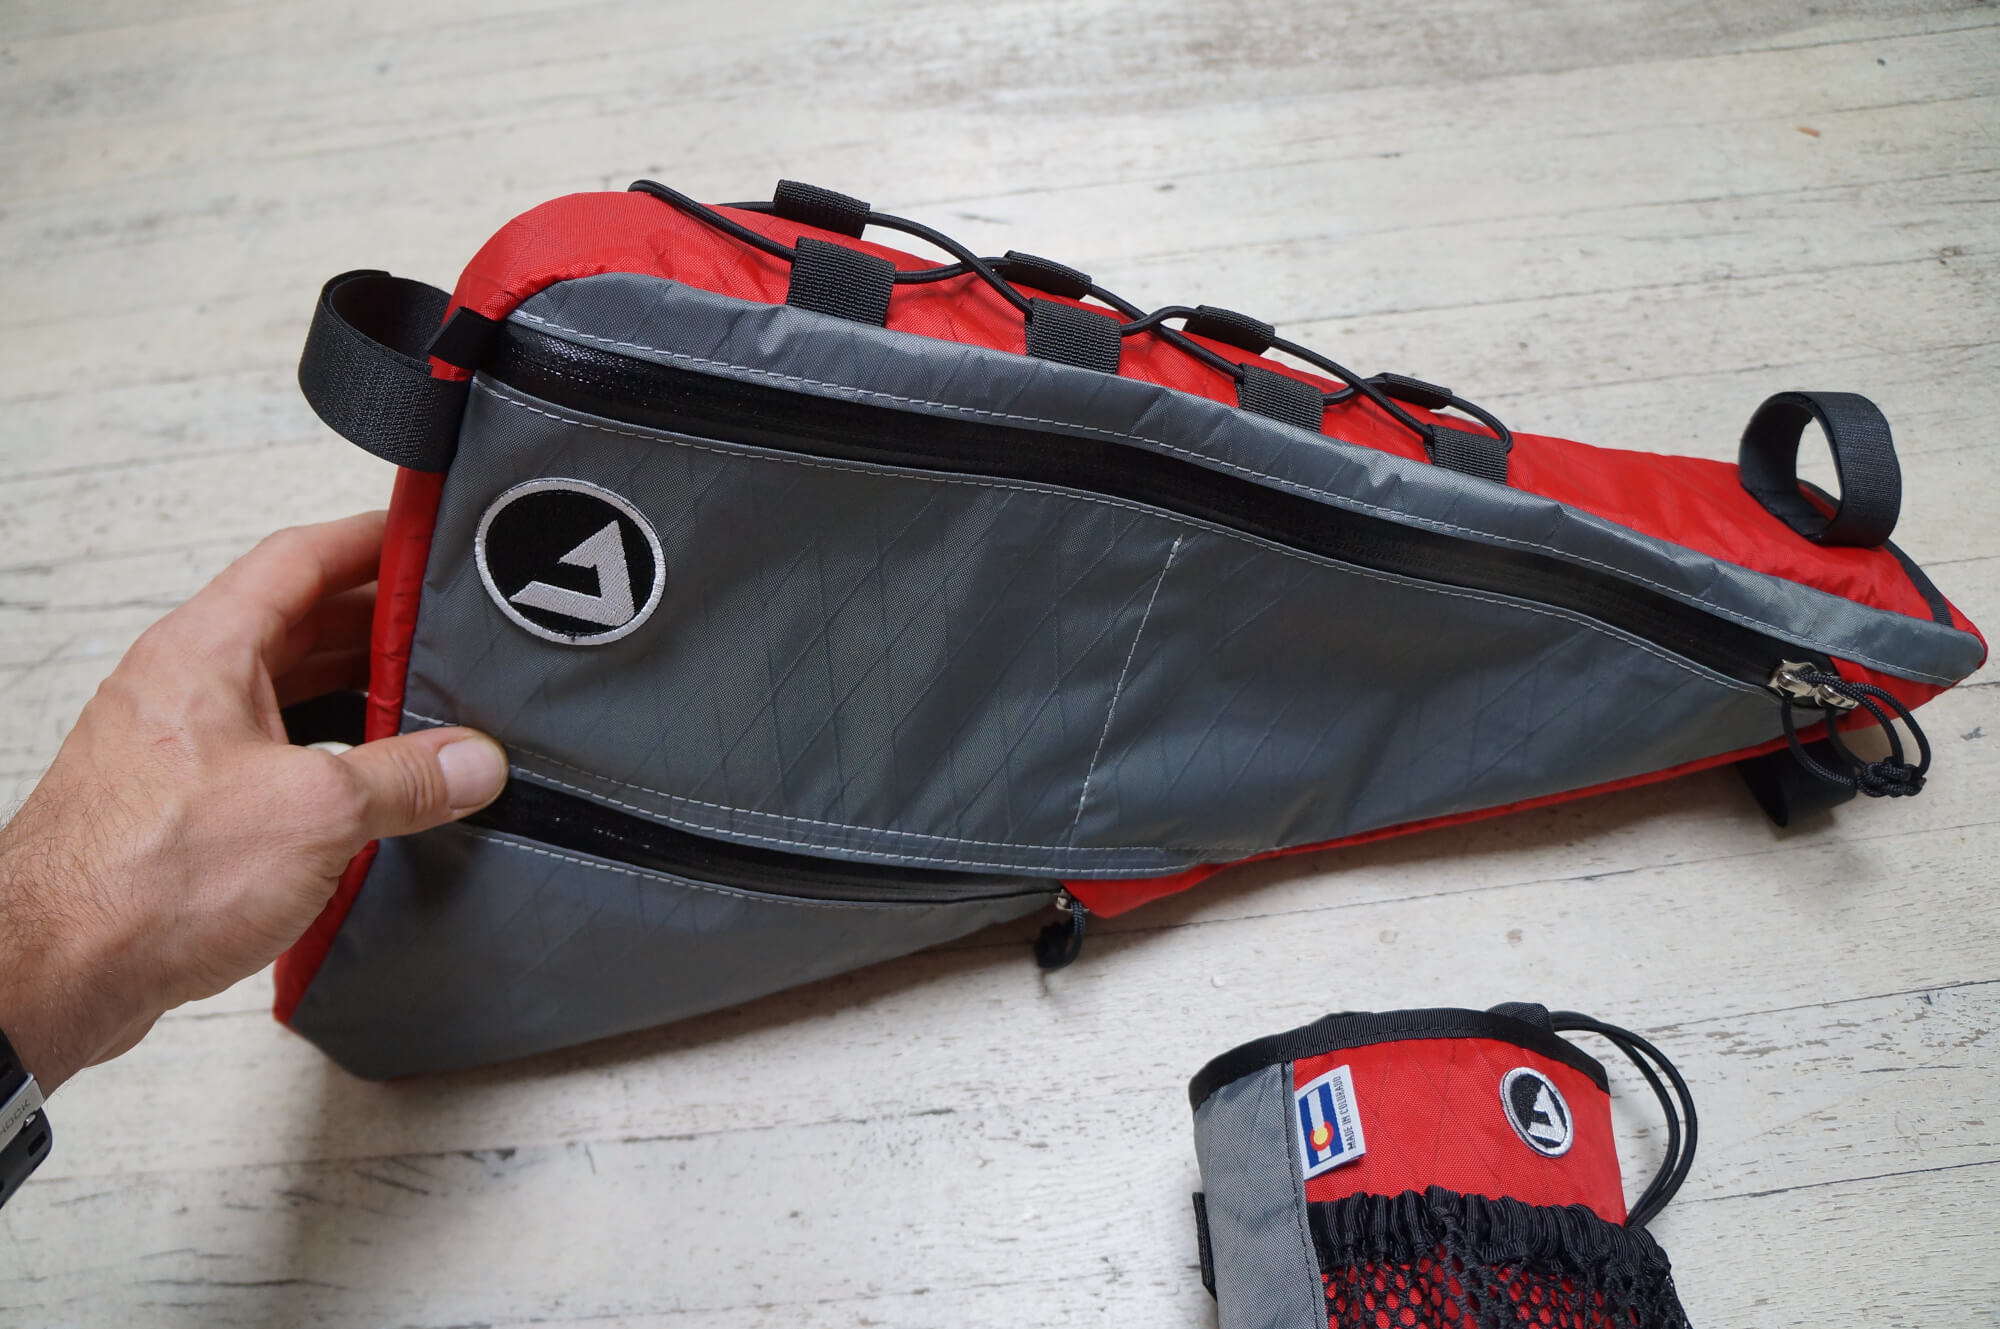
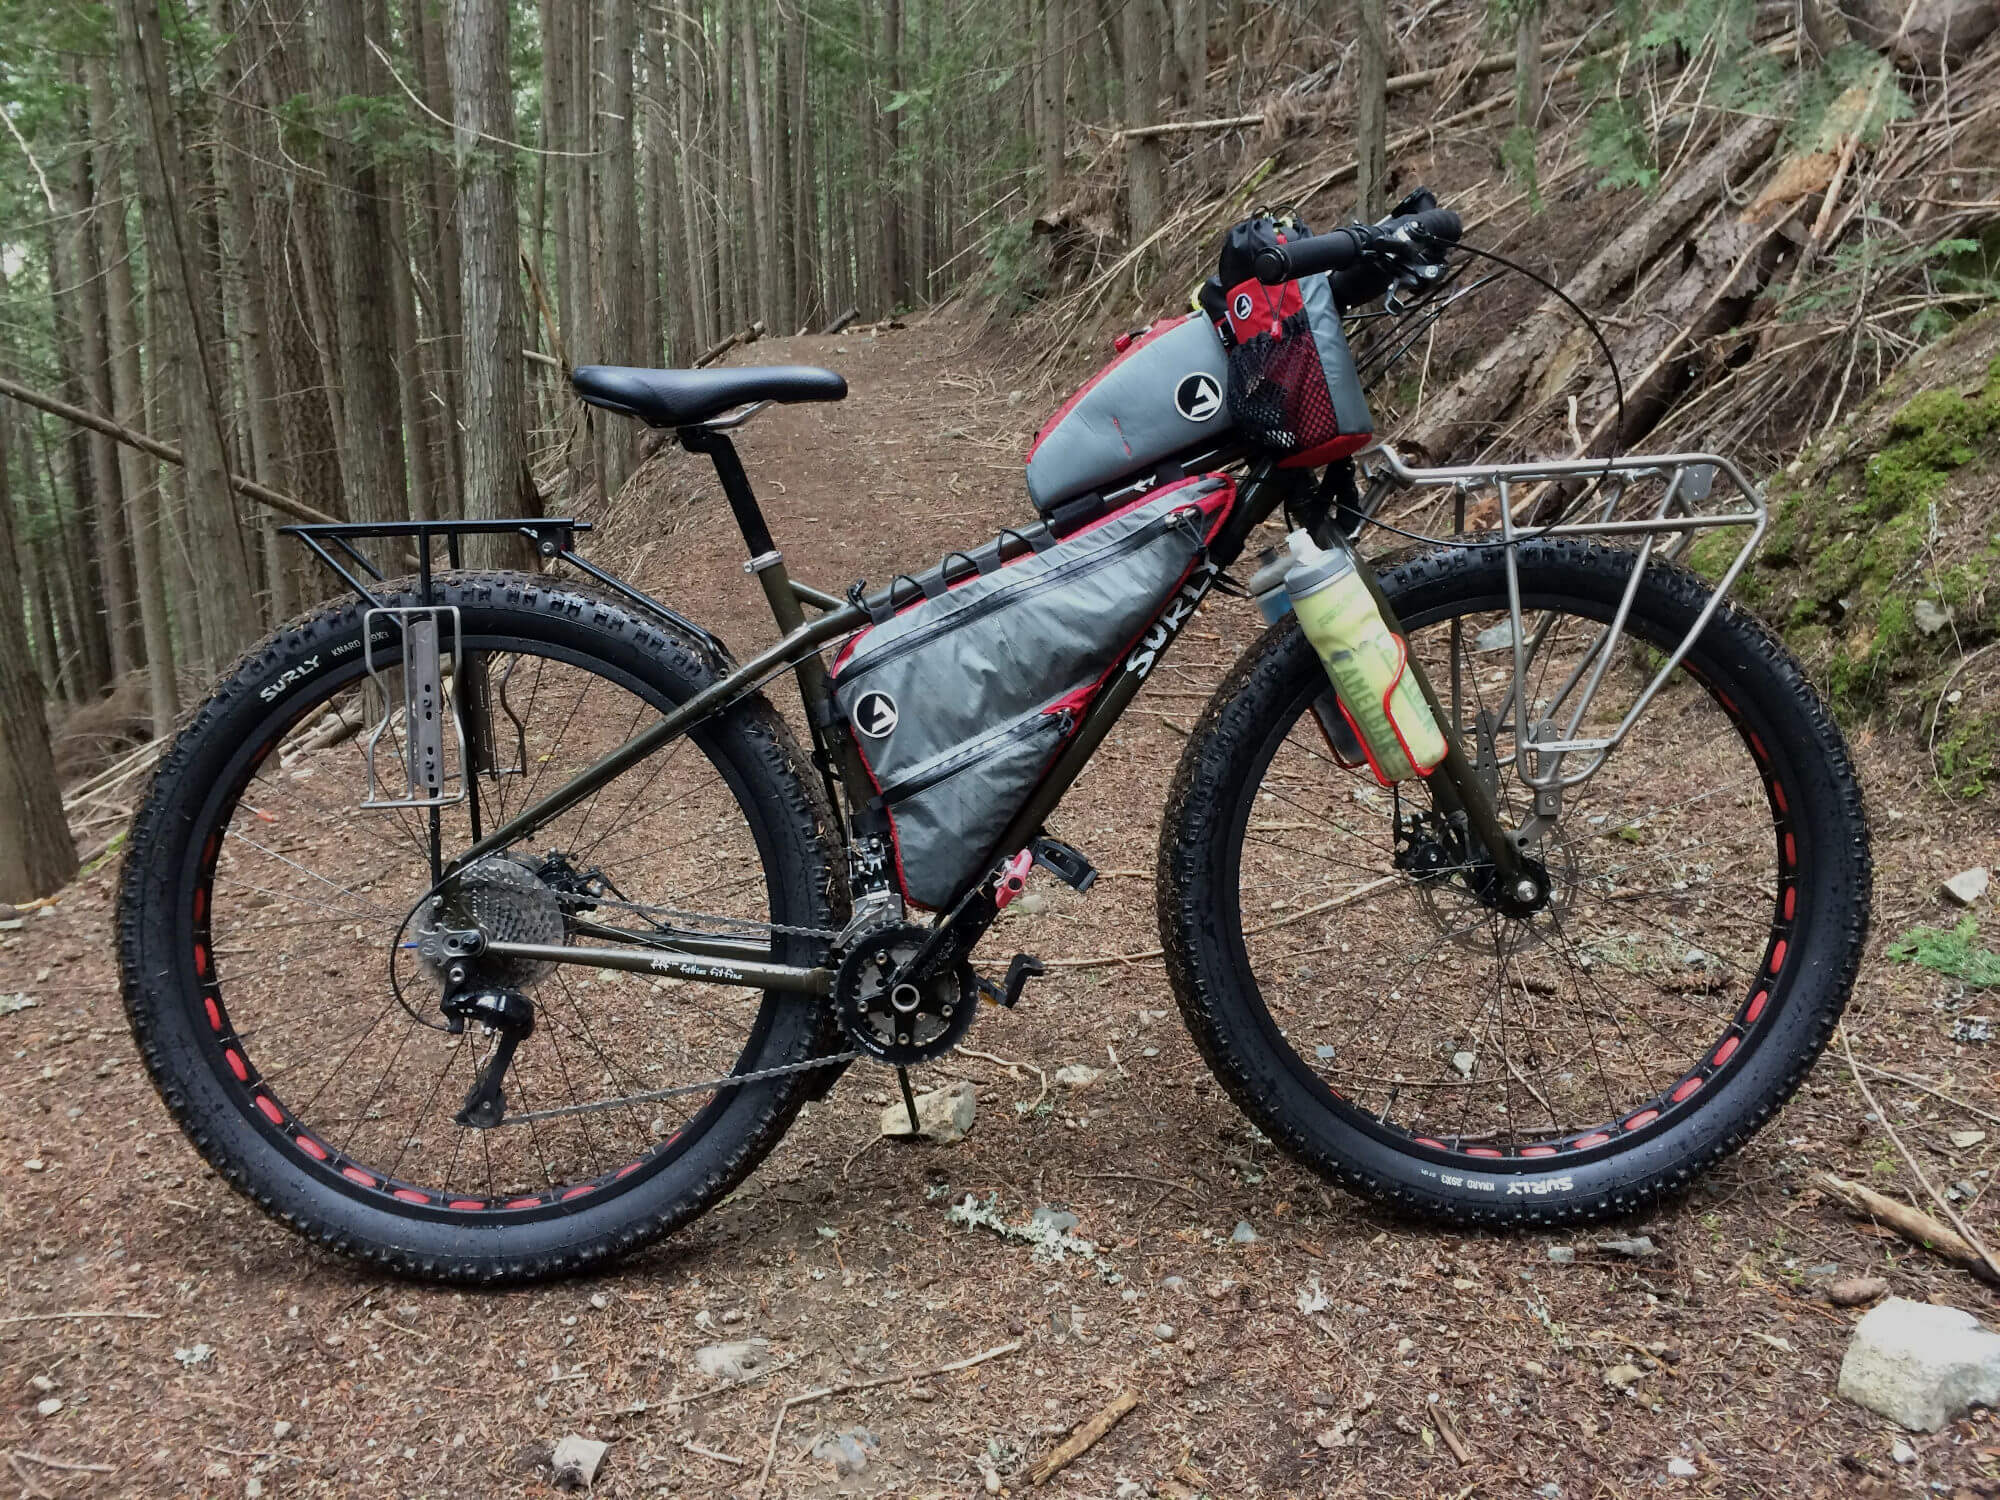
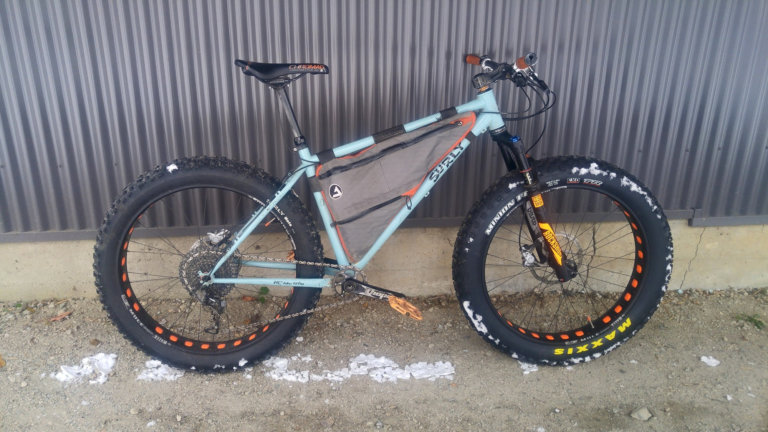
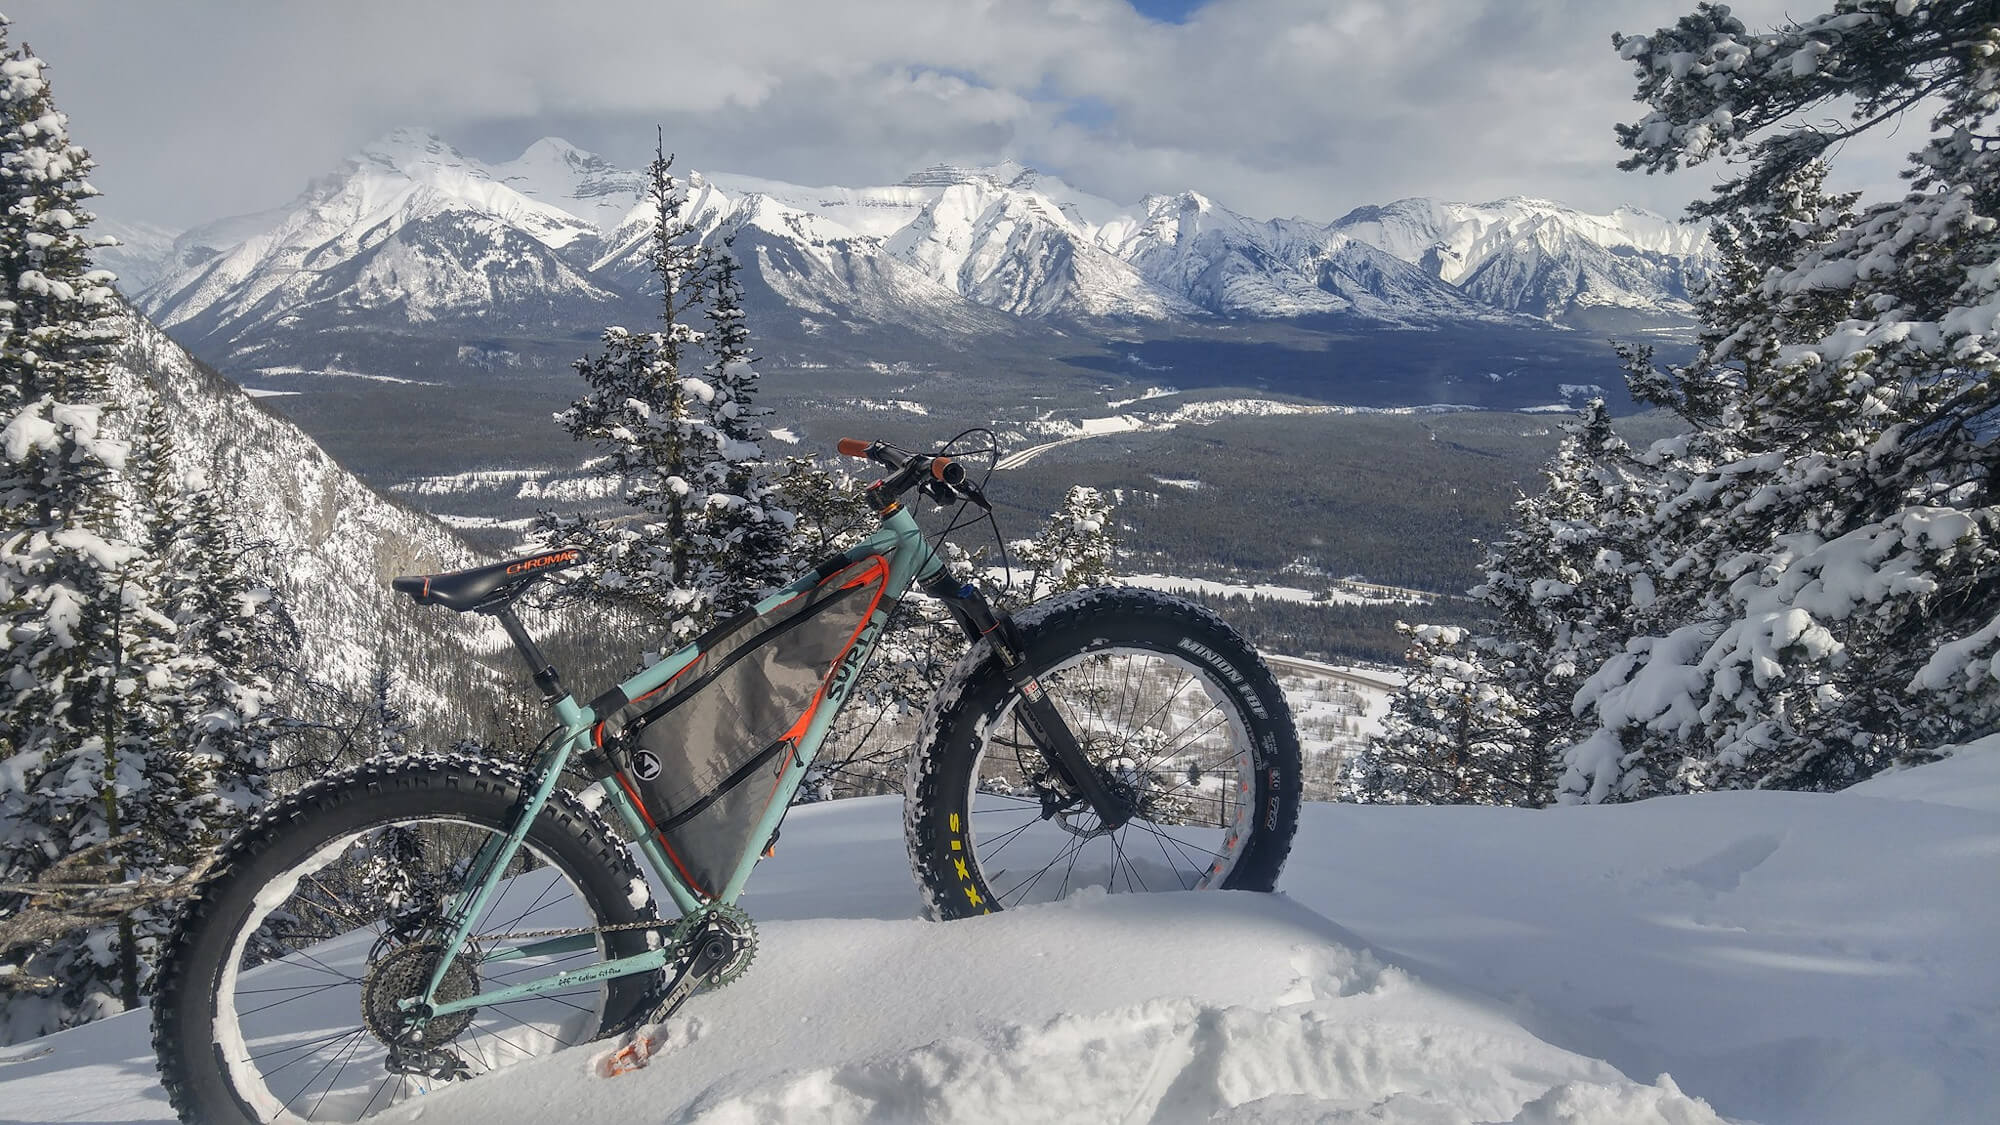
These bikepacking bags have been field tested for over 3 years and been abused pretty hard. The FramePaks have both seen 3000+km and countless days of adventures. With that said it’s fair to say that JPAKS LLC custom framebags are top notch quality. From the zippers and stitching to the internal pockets and an internal divider. These bags are the real deal. The inside is a bright yellow so it makes it super easy to find anything that may be floating around in the bag.
The process of getting the bag made was pretty straight forward. Joe is a wizard to be able to create the Framepak bag simply from a photo and a cardboard cutout of the internal frame triangle. For those not in the know it is best to plan far ahead to get your Framepak bag; there is a waitlist and it can be pretty long. I reached out to Joe one year before one of my epic adventures and he got it to me with a few weeks to spare while I tried it out and figured out what I was going to pack in this piece of art that straps and bolts to a bike.
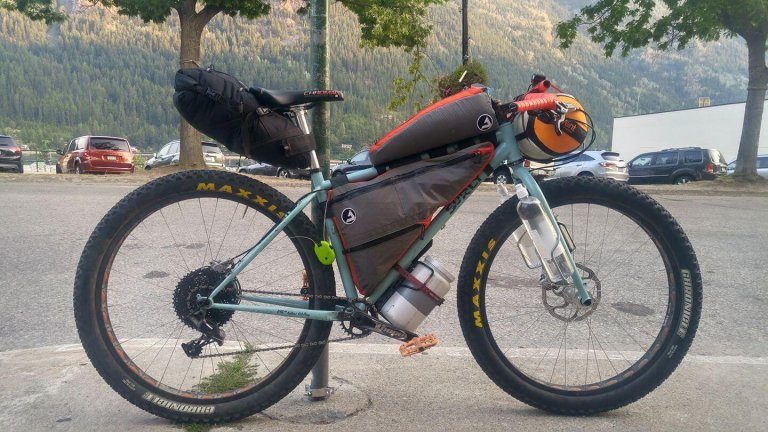
The big difference between the ECR and the Wednesday Framepaks are the lacing vs. the velcro along the top tube. The lacing is much sexier in my opinion and less surface rub on your frames paint. Examine the photos below to see the difference. Craig ordered his Framepak for his Wednesday a year before I did and I think Joe had come up with the lacing after the fact.
It is highly recommended to put a paint protection film over your frame where the velcro and lace attach if you are worried about points of contact rubbing your frames paint because it will. I used 4″ x 3.33 YD / 10.16cm x 3.04m 3M Paint Protection Film that I purchased from my local auto parts store for $25 CAD. There is enough paint protection film to do a couple of bikes if only covering points of contacts between the FramePak and the bike frame.
- Material: Durable Rip Stop Nylon
- Volume (will depend on the bike frame): ~12L for Med ECR
- Place of Manufacture: Colorado USA
- Price: $250 USD
- Manufacturer’s Details: www.jpaks.com
Ruksak
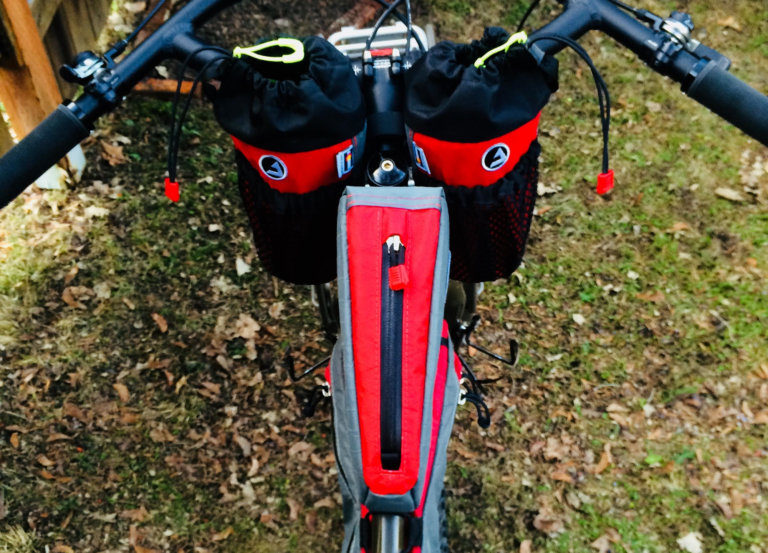
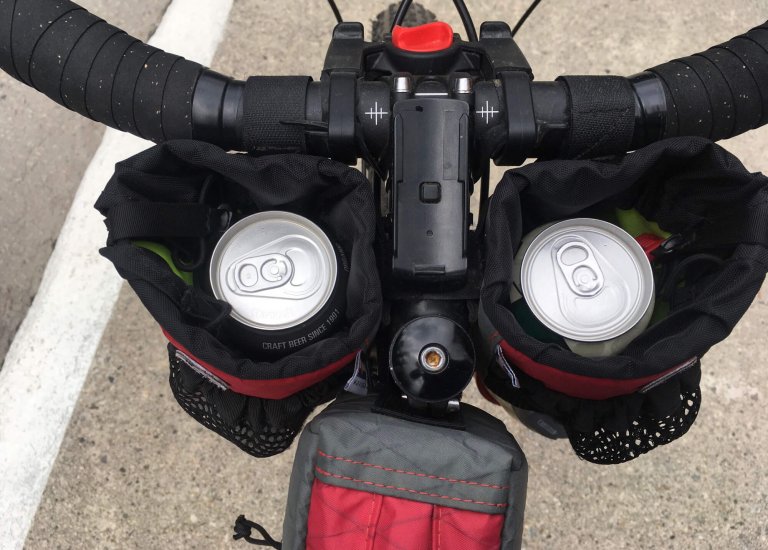
I originally ordered one of these just to try it out. I loved it so much I ordered two more. The one nice thing on my two newer Ruksaks is the one handed opening tab Joe added to the Ruksak; brilliant! It makes getting into the bag so much easier while riding. The other nice thing about the Ruksak is it doesn’t take any customizing. They will fit pretty much any bike. So dream up a colour scheme and get in touch with Joe. I love these for quick access items and having that little bit of extra storage on the bike is amazing.
One thing to note if wrapping the bottom of the bag to your fork; if you are not using a suspension fork and don’t want to ruin the paint on your fork I highly recommend a paint protector or even just some inner tube with electrical tape to minimized the rub. I learned the hard way but have since touched up the paint and put paint protection film on. I even doubled up with my second suggestion of some old inner tube with electrical tape. Works like a charm.
- Material: Durable Rip Stop Nylon
- Volume: ~1.3L
- Place of Manufacture: Colorado USA
- Price: $50 USD
- Manufacturer’s Details: www.jpaks.com
SnakPak
Fatty
Having gone through two off the shelf top tube bags in less than 3 years I decided to get a top tube bag from JPAKS to match the rest of my bags. My off the shelf bikepacking bags were covered under warranty but I was tired of the zipper blowing out on me during my trips. Each of my off the shelf top tube bags lasted less than 30 days with zipper failure. I have a third one covered by warranty but have yet to mount it and it is still new sitting new in my bin of bike stuff. The zipper in the center of the SnakPak is key in my opinion as it makes accessing items a breeze. It is a much more robust zipper than on my previous top tube bag. It has an internal divider to help keep things organized and frankly a much nicer top tube bag visually. It is a real pleasure to use. It has outlasted my previous top tube bags and showing no signs of wear. I went with the fatty size as I had seen the Farva Craig purchased. More on that below.
- Material: Durable Rip Stop Nylon
- Volume: ~1.7L
- Place of Manufacture: Colorado USA
- Price: $65 USD
- Manufacturer’s Details: www.jpaks.com
Farva
Joe and I had joked via email that the Farva was for freaks when trying to decide which size I should get. I agreed that Craig is a bit of a freak. Turns out being a freak ain’t so bad. I witnessed Craig fit a footlong Subway sub, bag of chips and cookies in the Farva with ease. That should give you an idea of the capacity of that bad boy! He even managed to stuff 3-4 baked goods in there at one point too. The one thing to keep in mind with this bag is stand over height of your bike. If you don’t have much space in the cockpit the Farva may be a little crazy for you. All the freaky people make the beauty of the world!
- Material: Durable Rip Stop Nylon
- Volume: ~2.5L
- Place of Manufacture: Colorado USA
- Price: $100 USD
- Manufacturer’s Details: www.jpaks.com
Conclusion
These bikepacking bags have proven themselves to be top quality compared to some of my other off the shelf bikepacking bags. With less than 30 days on my off the shelf bikepacking bags they have failed and either been warrantied or I am living with some of the quirks until I decide to warranty them. I have a feeling I’ll have my JPAKS bags for quite some time before I have to send them back to Joe for repairs or once the UV rays have degraded my JPAKS bags enough to simply have to replace them. Three years in with my JPAKS I don’t see that being anytime soon. I never worry about my JPAKS failing while on my adventures. That is saying something and I have others bikepacking bags to compare quality and ruggedness with.
One last thing I really love about these bikepacking bags: they are made here on the North American continent. This means you’re supporting Made In USA (Colorado to be specific). That seems to be a rare thing in the cycling industry.
Cleaning Tips
These bags have seen a lot of dust and even chain oil. I have a few tips that have worked for me to keep my bags in tip top shape.
First only use mild soap and water when cleaning. I use a soft carwash brush with a bucket of soapy water and a garden hose for a quick rinse and clean. For a deeper more thorough clean I actually submerge the bags in the the bucket of soapy water and use the carwash brush and even an old toothbrush to get the mud, dust and sweat off the bags. I’ll repeat the submerging of the cleaned bags in some non-soapy water to rinse them off. After that I hang them on my laundry line to dry.
I had some chain oil that had gotten on my rain pant leg and rubbed into the fabric of my frame bag once. I tried a toothbrush with soap to remove the oil with no luck. So I reached for my handy Goo Gone. I tested it in a small area of the frame bag before going full hog to see if there would be any discoloration; turns out Goo Gone works great on oil on the fabric used for my framebag. Once I worked the oil out I simply followed the cleaning steps for washing and rinsing above. The bag was as good as new!
One last tip to extend the life your zippers. After really wet and/or dusty trips use a little lip balm on the zipper. Work it in my slowly running the zipper tab back and forth. Works like a charm.
